It’s all well and well to state that you want to make a YouTube video, but how do you go about doing so?
This article will show you how to make smooth and professional-looking YouTube videos.
Make your preparations.
When you’re just starting, it’s not simple to simply turn on the camera and make a video — you can freeze. Instead, write a screenplay, choose your location(s), and figure out which areas and times of day are the quietest to shoot. This provides you with a better understanding of what to expect in your surroundings, and knowing what you’re going to say ahead of time can help you talk confidently and increase your camera presence.
According to YouTube, the opening 15 seconds of a video are vital since that is the amount of time you have to attract your audience’s attention. Try starting with a strong opening statement or a quick preview of the video ahead.
Make several tests run ahead of time to evaluate whether your strategy needs to be tweaked.
Light
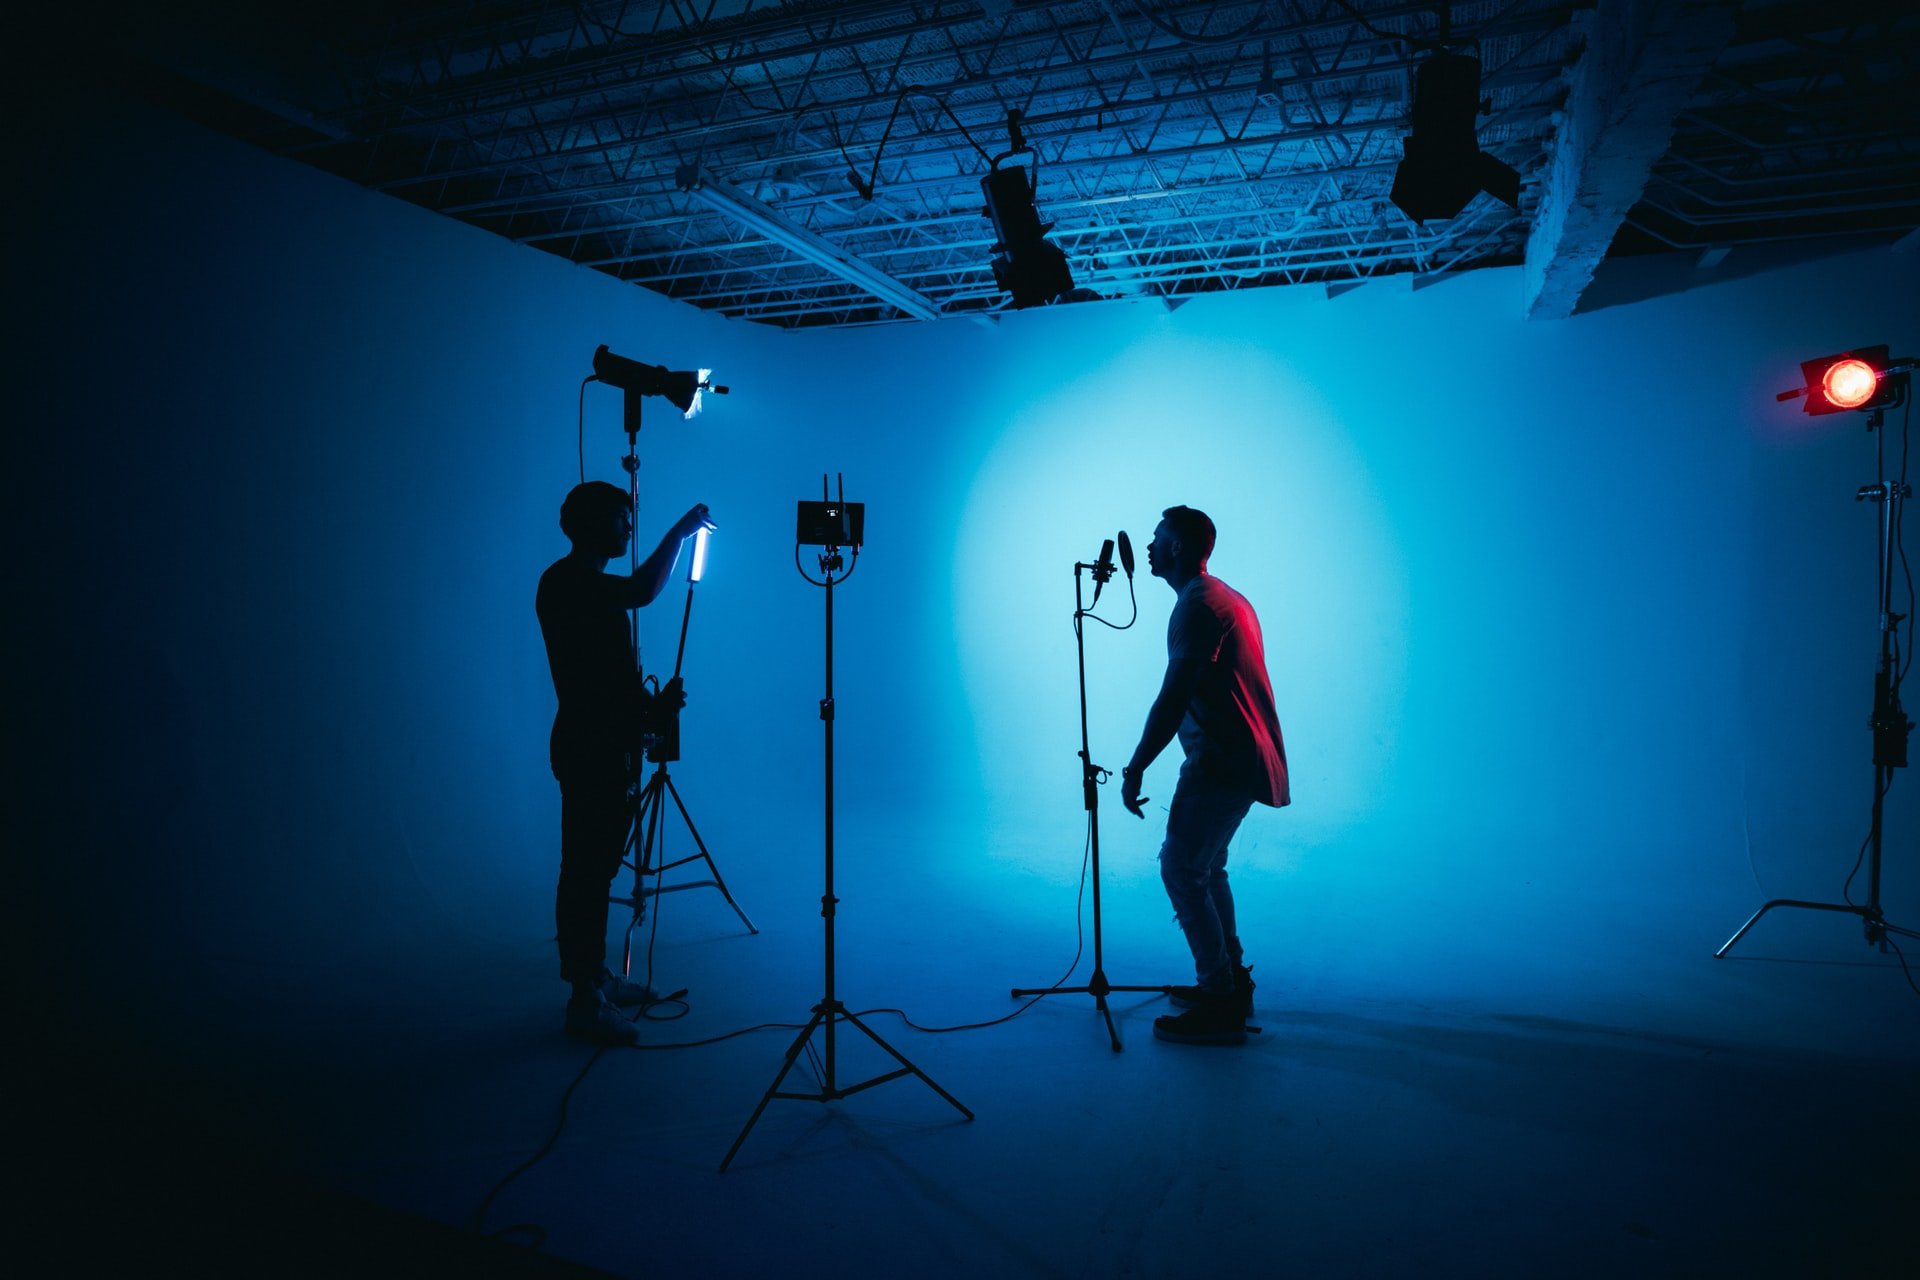
One of the most critical aspects of making your film seem professional is lighting. It establishes the tone of your video and directs the focus of your viewers’ attention.
The greatest thing you can do is use a light source off-camera and facing you. In most videos, this works. If everything else fails, you may experiment with your existing overhead lights and lamps. Maintain a few metres distance between yourself and the rear wall to avoid casting distracting shadows.
Another thing to consider is the location of your film regarding windows. It’s preferable if they’re on your side or behind you. This means that natural light will enhance the picture without washing you out or creating obnoxious shadows.
The YouTube Creator Academy has further information on lighting setups.
Sound
How could we overlook the importance of sound? The first thing you should do is a record in as calm an atmosphere as possible. If you’re indoors, a softly furnished space will absorb the noise.
Depending on the material you intend to generate, various microphones serve different functions. In any event, an external microphone will capture the sound that is clearer than an inside microphone. For example, shotgun microphones are directional for a one-way sound source, but lavalier microphones (also known as ‘lav’ mics) are worn on your lapel and are ideal for interview footage, particularly if you’re far apart.
External microphones that can be plugged into a smartphone may be found reasonably. However, regardless of your choice, double-check the microphone’s compatibility with the camera.
As previously said, recording outdoors is best done in a calm location and/or during a quieter time of day. A boom microphone may be useful in this situation since it can filter out noises like a strong wind. However, because they’re attached to a long pole, you’ll need to bring someone else with you.
Make sure your backdrop is spotless.
A little visual appeal, such as a picture on the wall, might help your movie stand out. If you choose a simple white wall, the camera will struggle to distinguish between you and the wall. A busy backdrop, on the other hand, risks diverting viewers’ attention away from what you’re saying — and they’ll tell you so in the comments! If you’re performing more of a Q&A or conversation video, keep your backdrop in mind.
If you’re making a video that demands a lot of audience attention, such as a video camera instruction, a block colour background can be worth it. But, of course, a mild grey is preferable over a brilliant yellow.
Depending on how much junk you have in the background, your home office or bedroom might serve as a backdrop.
For your camera, utilise a tripod or a firm surface.
A shaky picture will undoubtedly turn off your audience — and give them a headache. So when making your first purchase, be sure to choose a tripod that’ll work with any camera you’re using, even if it’s a smartphone. To prevent shaking your camera and microphone, at the absolute least, position them on a table and stay steady while recording.
 Keep the Rule of Thirds in mind.
It’s normal to presume that you’d place your video’s topic right in the centre of the frame. You’d be mistaken. Imagine a grid on your frame, and your subject should be striking one of the grid’s lines crossings. That is, to the right or left of the centre.
Filming from various perspectives
Different viewpoints provide a lot of visual appeal to a video, depending on what sort of video you’re doing. However, even for someone with a long attention span, seeing the same camera viewpoint for many minutes.
When you change angles, make sure it’s at least a 45-degree shift in camera angle; else, the audience will see it as unintentional and abrupt.
B-rolling
B roll serves the same purpose as changing camera perspectives in that it adds interest to your film by breaking it up. It may be any images from your film that aren’t your primary footage, such as landscape or stock graphics, that are woven into the final cut alongside the main material.
Clothing
You may not believe it, but the clothes you wear can affect how you seem on camera. The ideal colours to use are block colours, especially dark colours. Avoid patterns since they may cause your camera to twist and distract the audience. That means no houndstooth, stripes, or zigzags.
Some suggest erring on the side of formality when shooting, but what you wear depends on your audience. If you’re recording and talking about business or money, you should dress up, but if you’re making a cooking video, go casual or break out your apron, as long as it’s not stripped!
Make an effort to improve your camera presence.
You might very well be presenting when it comes to how you seem on camera. One of the decisive aspects in how your audience reacts to you will be your camera presence.
It’s preferable if you project a calm and welcoming demeanour. As you learned as a youngster, keep your shoulders back and relaxed, but not stiff. Avoid using crossed arms to close off your audience. Also, remember to smile.
It’s recommended practising in front of the camera a few times to become used to it. Then, keep the camera going even if you cringe at the playback because you never know whether one of your practice runs will be your finest take.
Off-camera, drink a glass of water to keep your throat from becoming too dry and affecting your speech.
Consider the editor.
When giving a presentation, avoid using run-on phrases that will be tough for the editor to cut out. Instead, fill in the spaces between words with pauses and talk slowly. Encourage your visitors to do the same. Then, make a recording of yourself speaking and listen to it while envisioning how it might be edited.
Using your smartphone to record
You may use the following methods to obtain the greatest images on your smartphone if you’re filming (or just starting).
- Use the rear camera since it has a higher resolution than the front.
- Back-lit settings should be avoided since brilliant light surrounding a dark figure will give your film a scary sense.
- Record in landscape mode rather than portrait mode.
- To decrease shakiness, invest in a smartphone tripod.
- For extended and/or dull sequences, use time-lapse.